Configure a printer on MacOS
On the laptops you have to configure the printers manually, here is the procedure.
To configure a printer, you must already know its name, it is typically indicated by a label stuck on the printer. In the example below we will take the printer 'lpcopieur2-toshiba'. The term 'lpcopieur2-toshiba' must therefore be replaced by another name for another printer, unless otherwise stated all other information remains valid.
You can also consult the page 'CMAP printers list' to know all names and models.
-
Start the System Preferences tool > Printers and Scanners (Apple menu)

-
Click on the '+' button to add a printer.

-
Choose the IP tab then, in the Protocol field: IPP; in the Address field:
ipp.cmap.polytechnique.fr:631, in the Queue field: /printers/lpcopieur2-toshiba
In most cases you can choose the 'generic postscript printer' driver, if you want to take advantage of all the printer's options you can choose the driver that corresponds to your printer. In case of doubt, you can consult the page 'CMAP printers list' which indicates for each printer: the model reference and the content to be indicated in the field 'Queue'.
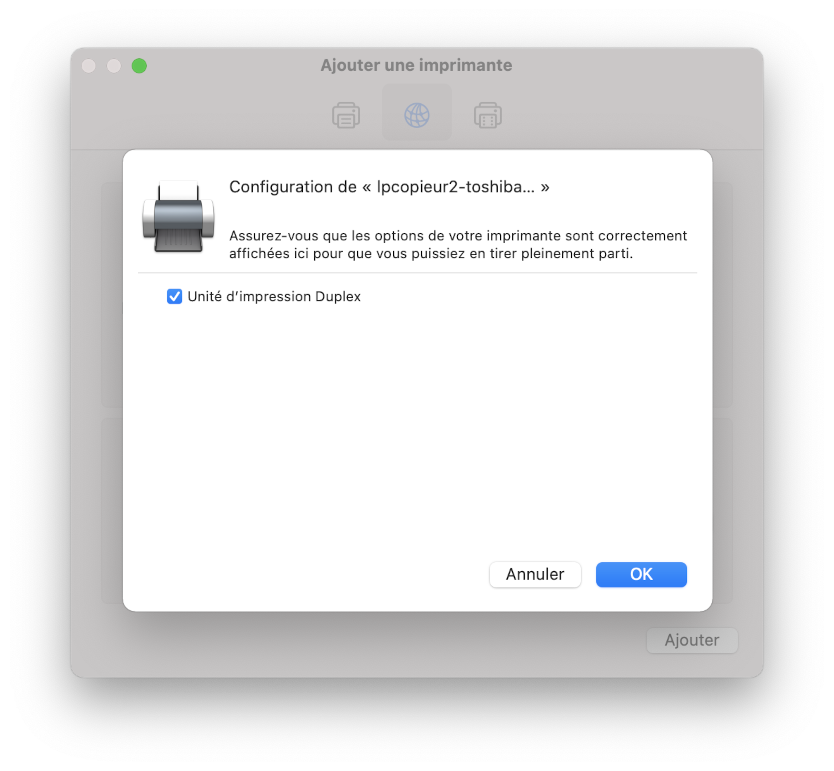
- In the next step, check the "Duplex printing unit" box in order to benefit from duplex printing.